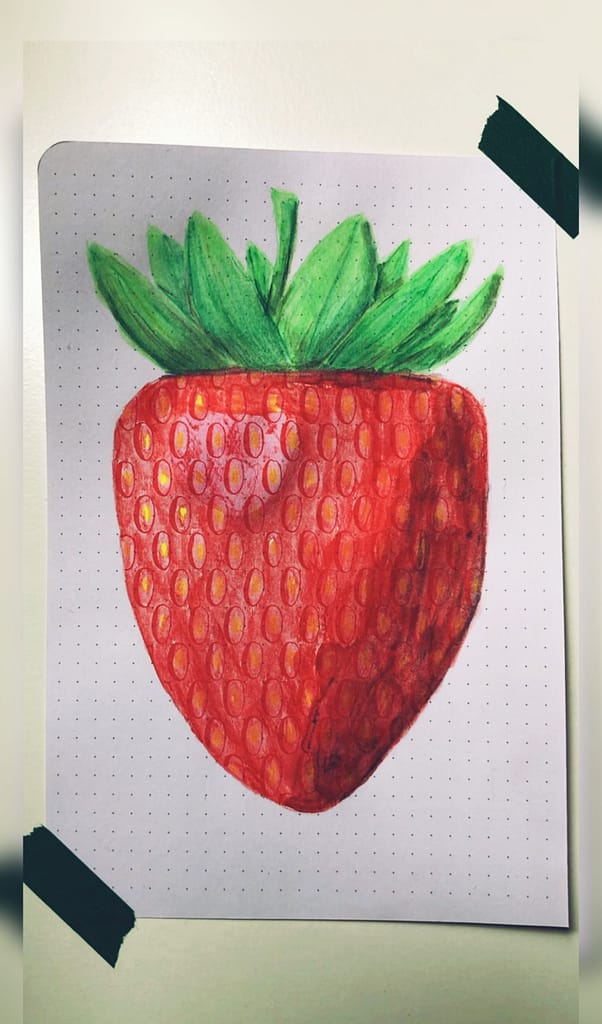
Another mindful calligraphy basics exercise with a bit of fun. We will not only practice the oval basic stroke in combination with your breathing, but also in combination with painting a strawberry. It is meant to get you in a nice and relaxed flow.
Did you know there are ovals in a strawberry?
I thought it would be a great idea to combine a calligraphy exercise with some watercolor painting. It’s fun that these oval basic strokes are not just used for practice, but have a purpose in your painting as well.
Sometimes practicing basic strokes can get a bit repetitive and this way you can mix it up a little.
When you are drawing your oval basic stroke, you can focus on your breathing to get you in a relaxed, almost meditative, state of mind. To continue this peaceful feeling when you start painting, you can really focus on what you’re doing; how does your brush feel on the paper, look at how your paint flows. Really be in the moment.
Let me know if it was more fun to practice the oval basic stroke this way.
You can find a small video of this exercise on my instagram @thecreativecooldown
Supplies used:
Smooth dotted bullet journal (Archer & Olive), brush pens (Tombow fudenosuke hard tip), color: red and yellow, watercolor pencils (Winsor & Newton) and aquash water brush (Pentel).
Alternative supply suggestions:
If you don’t have brush pens, it is still possible to do the exercise. Just grab a regular sheet of paper and some colored pencils. With colored pencils you can make the thin and thick strokes as well. Really, I have tested this. If colored pencils are also not available to you, you can use a regular pencil.
To color the strawberry you can use whatever supplies you have: regular watercolor, colored pencils, markers, crayons, etc.
Instructions:
Calligraphy part
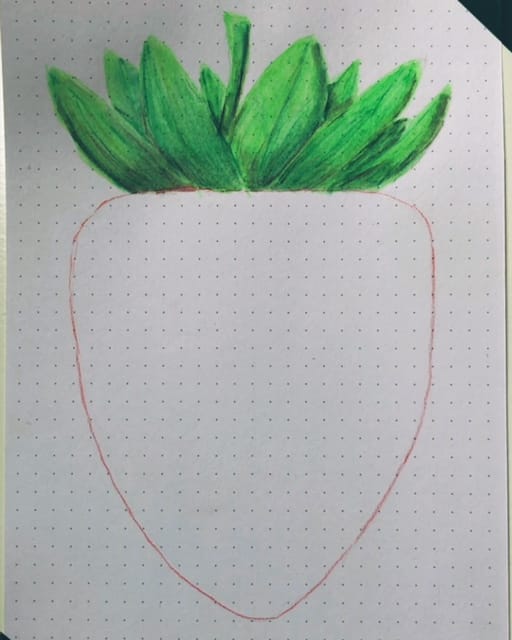
1. Draw a strawberry. This can be as simple or as detailed as you’d like. If you want to you can already color in the calyx (the top of the strawberry) before you go to step two.
2. Grab a red pen or pencil and draw an oval. For the first part of the oval basic stroke, start in the middle on the right side of the oval. Go up lightly and then curve to the left. Slowly start pressing down on your pen. When you’re at the bottom, curve to the right and go up lightly again and connect your stroke to your starting point. Breathe in when you go up and out when you go down. So for this stroke this will be: breathe in, breathe out and breathe in again.
3. Fill the entire strawberry with ovals. Leave some space between the ovals and for every line alternate between starting with a free space and starting with an oval . So the first line, for example, will be: oval, free space, oval, free space, oval, etc. And then the second line will be: free space, oval, free space, oval, etc.
Watercolor part
4. Put a large yellow dot in the middle of each oval. Leave some white space between the yellow dot and the red oval.
5. Start filling in the entire strawberry with a red watercolor pencil. Leave a small circular space on the left side blank for now. This is the part where light reflects on your strawberry.
6. Make the right side of your strawberry and the part below the calyx a little darker. Add some extra red and some brown and black color in these areas. This will give your strawberry more depth.
7. (This part can be skipped if you did not use watercolor pencils) Grab a waterbrush or pencil and water and slowly add water your colored parts. Start with the lightest part and end with darkest part on the right side. You can use the diluted pigment from the rest of your strawberry to add a bit of color to the small part you left blank in step 5. It should be the lightest part of your painting.
8. Let it dry and you’re done. Congratulations, you’ve just combined calligraphy practice with watercolor painting!
If you liked this exercise, you might like my mindful ‘wavy’ compound curve exercise as well.


