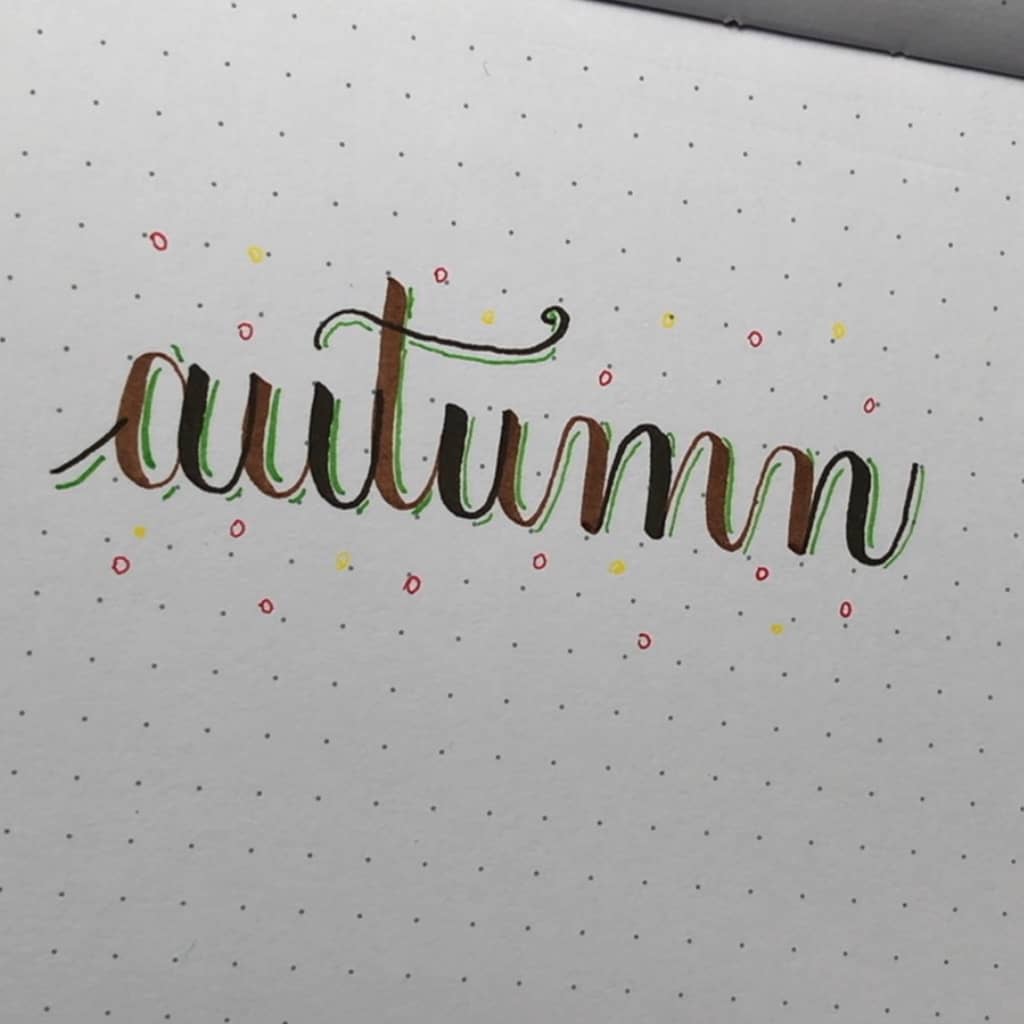
In this calligraphy autumn exercise, we will combine all the basic strokes we’ve learned in previous exercises to write a word. This is the first exercise in my fall/autumn series.
I thought it would be fitting to start with writing the word that will be our theme for the next few weeks. It is finally time to see how to use all the basic strokes to make letters. Of course, there’re a few letters that need some additional or new strokes (like the s), but in this exercise, only a few are slightly different from the ones we’ve learned so far. I think it’s a great word to get started with.
Hopefully, you’ll now see the purpose of all your basic stroke practice. Have fun finally writing letters and a word!
Don’t forget to go slow and focus on your breathing. Just enjoy what you’re doing.
You can find a small video of this exercise on my Instagram @thecreativecooldown

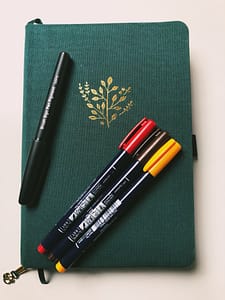
Supplies used:
A smooth dotted bullet journal (Archer & Olive), brush pens (Tombow fudenosuke hard tip), brush sign pen pigment (Pentel).
Alternative supply suggestions:
If you don’t have brush pens, it is still possible to do the exercise. Just grab a regular sheet of paper and a pencil. With a pencil, you can make thin and thick strokes as well. Really, I have tested this. Using colored pencils is also possible.
Instructions:
We will use all the basic strokes from previous exercises to letter the word ‘autumn’. When I mention a certain stroke, I will link to the exercise about this stroke as well. If you’ve missed one you can go back and practice that particular one before you continue. It’s important to know all the strokes when you do this calligraphy autumn exercise. Remember to breathe in when you go up and breathe out when you go down.
1. I have alternated between two colors after every stroke to make it easier to see where one starts and the next one begins. You can do this as well to learn to pause after every stroke or you can just use one color or a bunch of them. It’s up to you. Just make sure you go slow. We will start with an upstroke followed by an oval.
2. To continue the letter ‘a’ followed by the ‘u’, you need to draw the underturn thrice. Now you have already written 2 letters. Good job! The next letter is a little trickier. I call it an extended underturn because the first part is a bit longer. So you start a bit above the line of your letters and draw your underturn. You will end at the same height as your letter ‘u’. See the second image below for clarification. You now have lettered part of the letter ‘t’. You can add the crossbar if you’d like, but I like to do that at the end.
3. Continue with an underturn for the next ‘u’. To connect this letter to the letter ‘m’ you need to draw a reverse compound curve. So instead of going up-down-up, you go down-up-down. For the next part of the letter ‘m’, you need an overturn. There are different ways to connect the ‘m’ and the ‘n’, in this exercise I decided to use an extended compound curve. This means that you add an extra ‘wave’ to it. So you go up-down-up-down. To end the ‘n’ you need another compound curve, just a regular one this time.
4. Now it’s time to add the crossbar to your ‘t’. You can just add a horizontal line or make it a little fancier. Do what feels good.
5. Add some shadows or decoration if you’d like and then you’re done with the calligraphy autumn exercise. Whohoo, you’ve lettered your first word!
If you liked this exercise, you might like my musical ascending and descending loops as well.

